

How To Arrange Drawings As Sub Assemblies In Solid Works
While modeling in SOLIDWORKS , users tin rapidly and easily speed up the edifice of assembles by making a pick of parts into a subassembly. Learn how in this SOLIDWORKS tutorial.

Creating a Subassembly in SOLIDWORKS
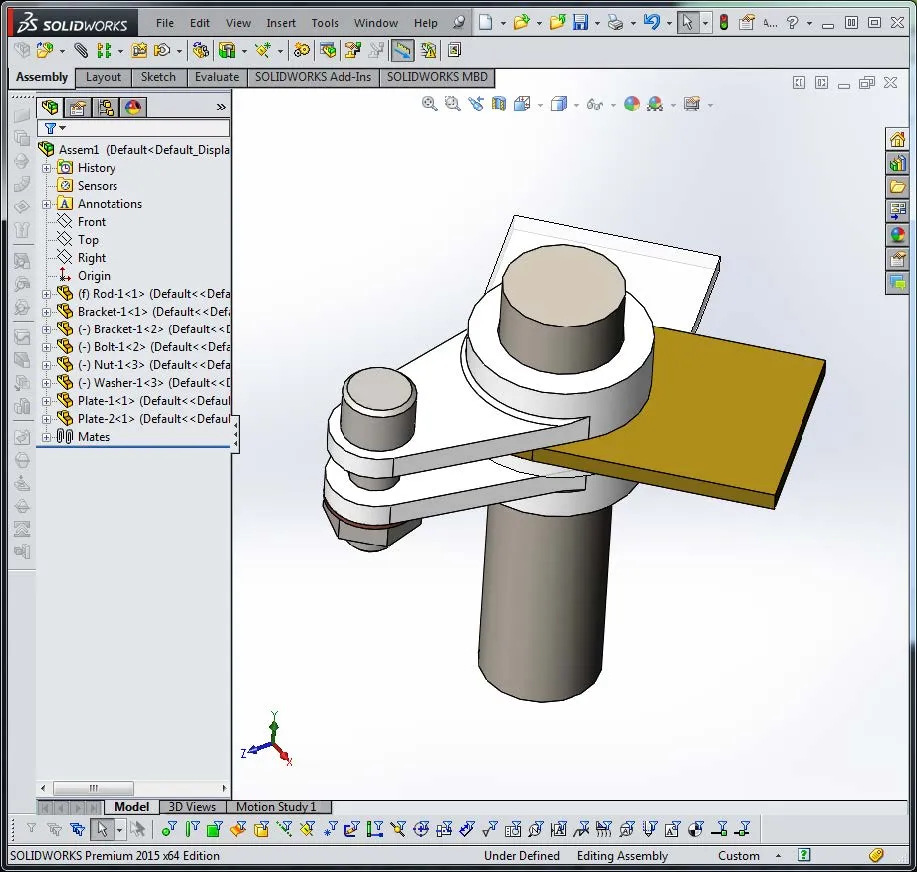
Commencement, y'all have a standard drove of parts built into a uncomplicated associates. Over the course of building multiple assemblies of a similar style, you notice that the combination of the Bolt-1, Nut-1, and Washer-i are always used in the same grouping.
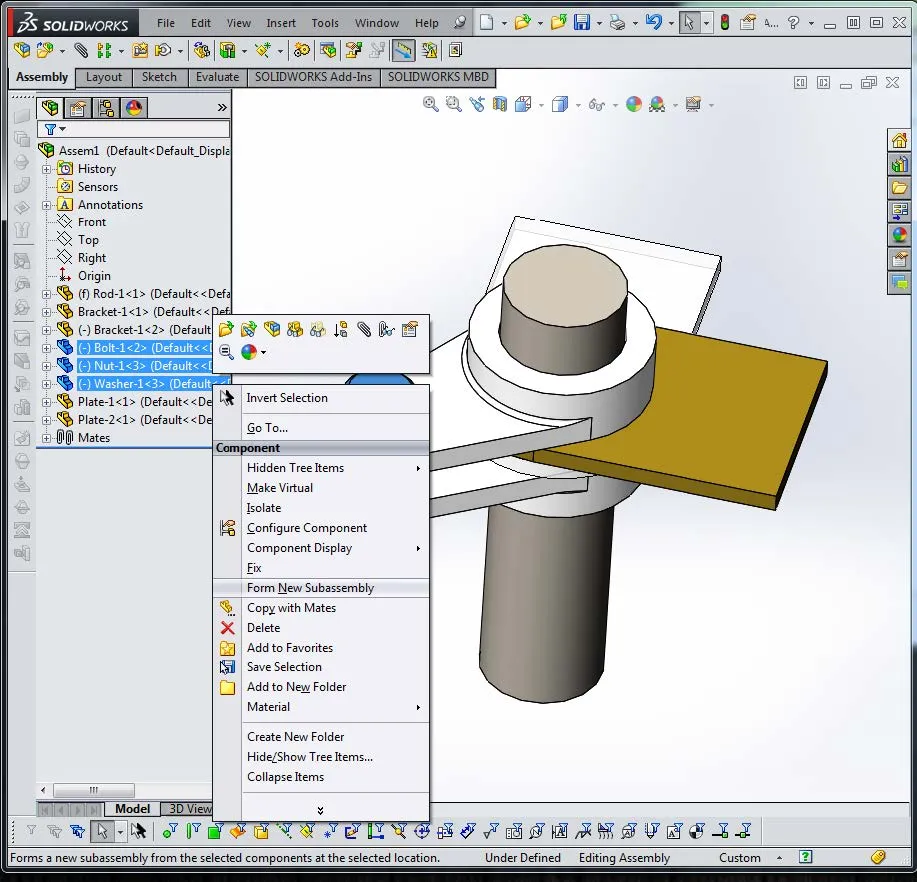
If you lot concord downward the Shift primal and select all iii components then right-click, the choice for Grade New Subassembly becomes bachelor.
Usually when this is performed, in that location is a alarm that some of the mates are now redundant and will need to be cleaned up.
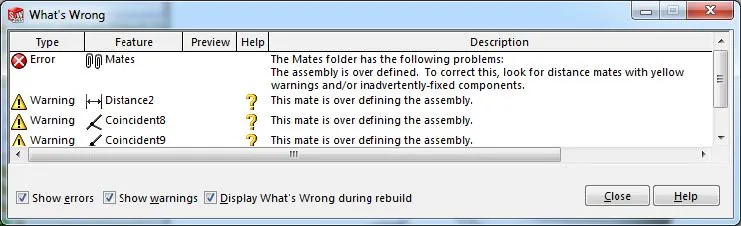
Clean up the offending mate(s) ane at a fourth dimension until all warnings are gone.
Once this is taken care of, you at present take a subassembly built inside the assembly that consists of the 3 selected components.
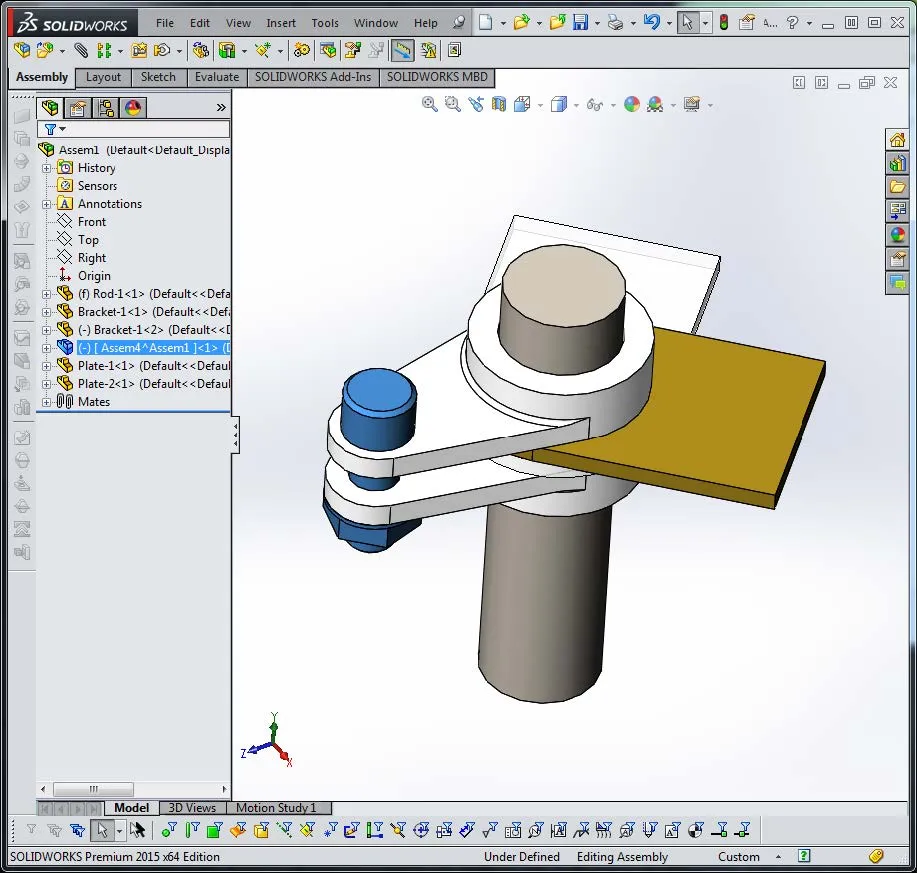
Annotation that while the sub assembly is created, it is not yet named or saved to be used as an associates outside of this associates that it was created in.
To do this, right-mouse click on the newly created assembly and select Save Associates (in External File).
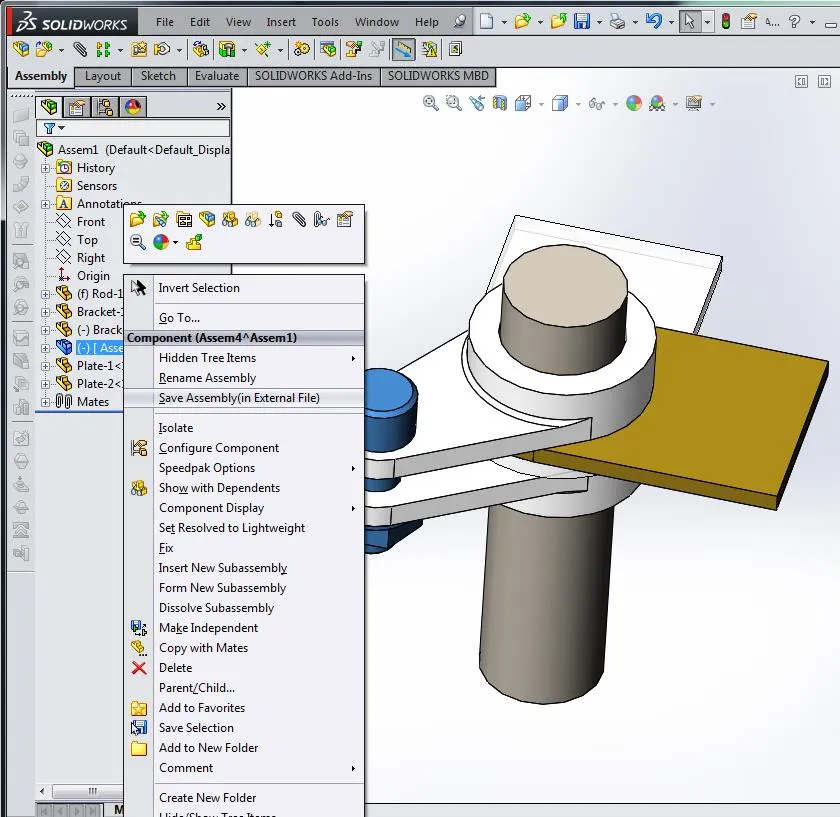
The dialog box appears to let specifying both name and location of the newly created subassembly.
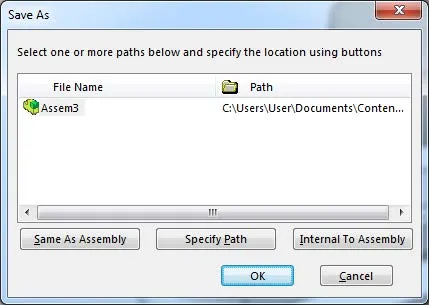
Double click on the File Name to rename information technology.
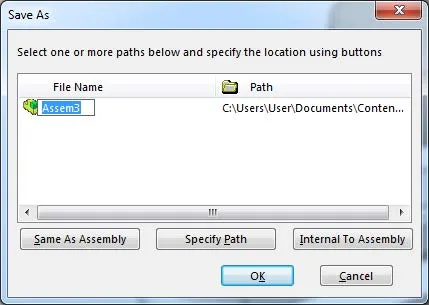
Click on the Specify Path radio button to locate where you want the new assembly to be saved.
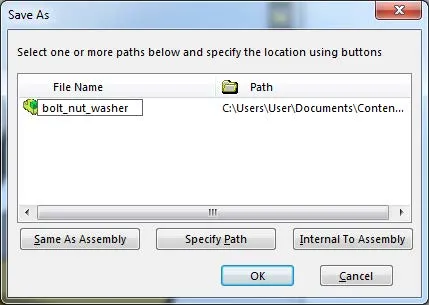
The new assembly is now available to be loaded into whatsoever other assembly every bit a component.
Dissolving a Subassembly in SOLIDWORKS
Sometime after, in a differernt assembly that you have inserted your subassembly into, you may need to change out one of the components in this assembly. Changing a component in the assembly you created previously would, nonetheless, make the change everywhere that this asssembly is used. You don't want to practise that. The option now is for you to dissolve this sub assembly in the current associates and replace the components as needed or desired.
This is a very simple, one step process.
Right mouse click on the sub assembly and select Dissolve Subassembly.
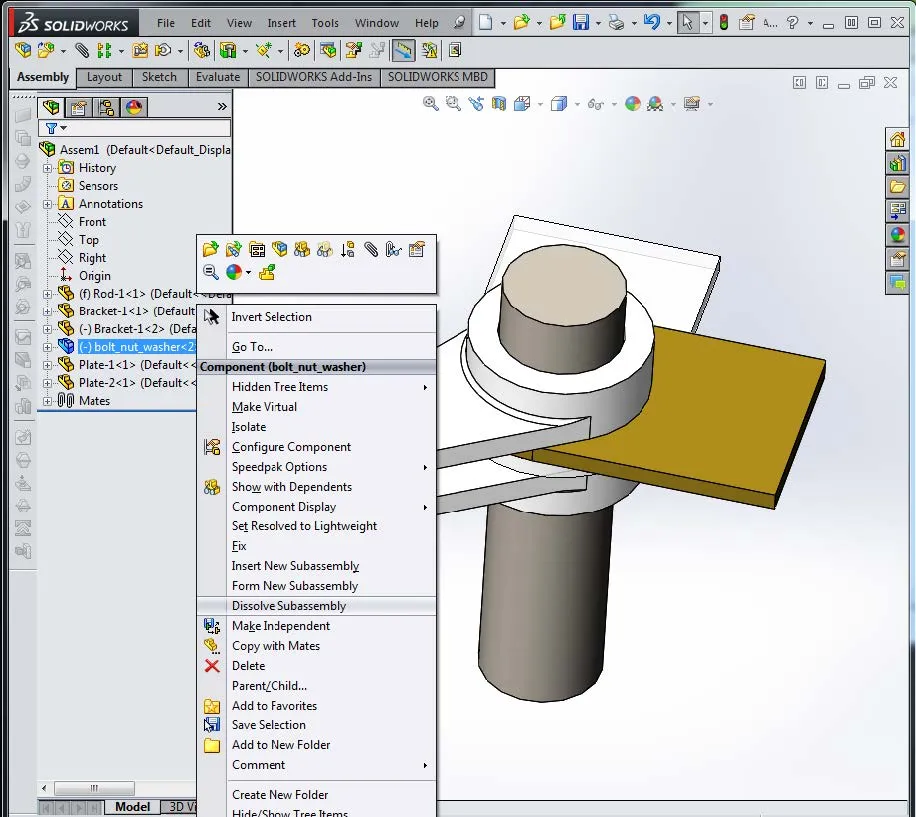
This now breaks the assembly downward into its individual components and the files can now exist dealt with as individual entities.

I hope this demonstration of how to create and dissolve subassemblies was helpful. Check out more SOLIDWORKS tutorials from GoEngineer below.
More SOLIDWORKS Tutorials
Easy Way to Link Backdrop to a SOLIDWORKS Drawing
Automobile-ballooning Subconscious Components in SOLIDWORKS
Simple Manner to Rename SOLIDWORKS Files
Creating a Non-circular Helix in SOLIDWORKS with Surfacing Commands
Removing External References in SOLIDWORKS Files
VIEW ALL SOLIDWORKS TUTORIALS

Source: https://www.goengineer.com/blog/solidworks-tutorial-creating-dissolving-subassemblies
Posted by: spencereaccon1998.blogspot.com
0 Response to "How To Arrange Drawings As Sub Assemblies In Solid Works"
Post a Comment